Project Templates
If you want to get started quickly the easiest way to get going is to use one of the Templates available. The templates are used to create a new project from scratch and not to add CMS functionality to an existing application.
If you want to add Piranha into an application, it's still a good start to create a new project from one of the templates and examine what happens in the Startup.cs.
Installing the Templates
Project Templates for .NET Core are installed from the CLI using the dotnet new command. If you're updating an already installed template, make sure you specify the version you want to install.
> dotnet new -i Piranha.Templates
Web Template
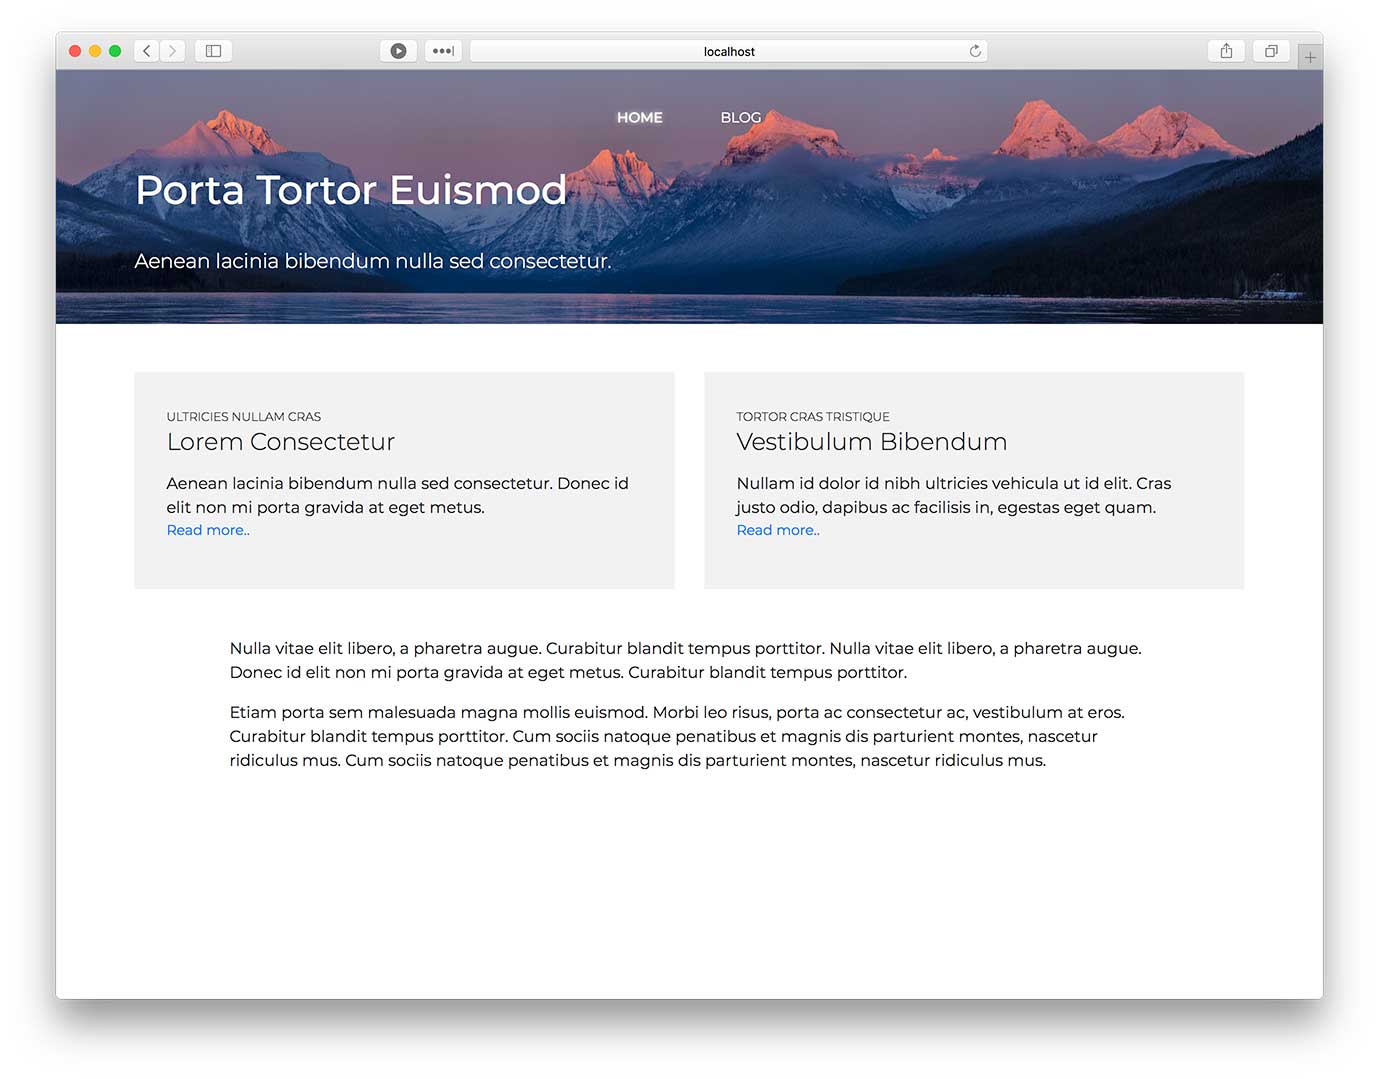
The Web Template includes models, controllers and views for:
- Startpage with a Hero, Teaser Section and Block based content.
- Blog Archive with a Hero and Post listing.
- Basic Page with Block based content.
- Basic Post with a Primary Image and Block based content.

How To Use
When creating a new project with dotnet new you should first create a new empty folder. The default behaviour is that the new project is named after its containing folder. Please note that naming your project Piranha (even if it is a test project) will result in a circular reference error when you try to restore the packages.
> dotnet new piranha.web
> dotnet restore
> dotnet run
Blog Template
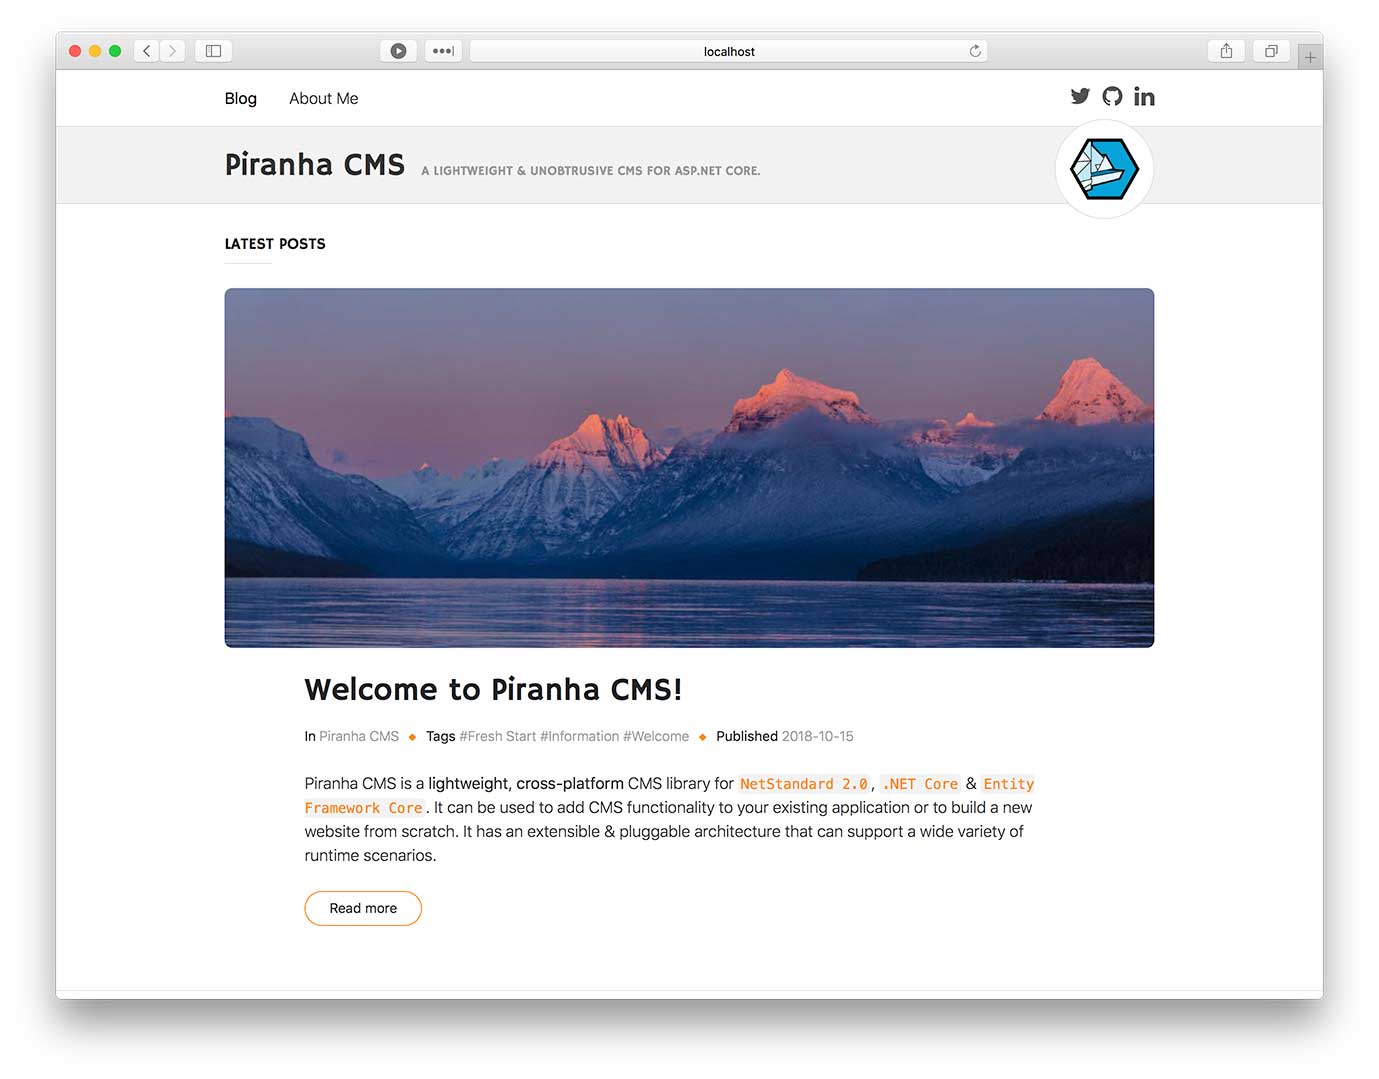
The Blog Template includes models, controllers and views for:
- Blog Archive with paging, category & tag filtering.
- Blog Post with a Primary Image, Ingress & Block based content.
- Basic Page with Block based content.

How To Use
When creating a new project with dotnet new you should first create a new empty folder. The default behaviour is that the new project is named after its containing folder. Please note that naming your project Piranha (even if it is a test project) will result in a circular reference error when you try to restore the packages.
> dotnet new piranha.blog
> dotnet restore
> dotnet run
The blog template is also available for Razor Pages.
> dotnet new piranha.blog.razor
> dotnet restore
> dotnet run